
Introduction
Okay, time for the fun.
If you haven’t done maps before, I suggest you get a solo map and give it a try. That will give you an idea of how the process works.
Solo maps differ from Party maps in the potential of a portal and the associated dungeon. Otherwise, the play prior to the portal is essentially the same.
DON’T FORGET YOUR CHOCOBO
The battles prior to opening the treasure chest are a great way to get some leveling experience for your Feisty Little Chocobo. Don’t forget to bring it along and have it out.
Decipher the Map

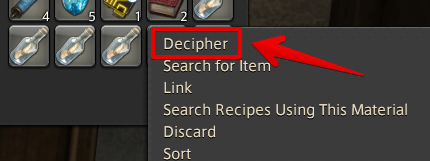
When you are ready to start, the first step is to decipher a map. Please note that you can only have one deciphered map at a time. If you are in a party, know which levels the party is running.
The easiest thing to do is right click on the map in your inventor and select “Decipher” from the menu.
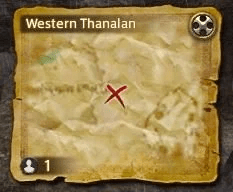
This should present you with a small map something like this:
This leads us to the next section.
Where Do I Go?
There are three ways to handle this… Manual, assisted, and using methods we are cautious about discussing.
I suggest doing at least one manually. Especially if you like “Where’s Waldo” or image search style puzzles.
Think of the treasure map as one that has been left outside in the sun and has been rained on a few times. It will be faint, and the landmarks will not be clear.
Manual Location
- Note that the zone where the chest can be found is named in the upper left-hand corner of the treasure map.
- Go to that in-game map.
- Identify the point on the treasure map on the zone map. Notes the faint dark areas. These are clues. Try to find the corresponding place on the in-game map.
- Expect to get it wrong on occasion.
- If you are in a party, share the location of the chest with the party members.
- Make sure you are in Party Chat (/p).
- Place a flag on your map and then ctrl-right-clicking. This should place a flag on the map and put “<flag>” in the active chat.
- Then press enter in chat to share it with the party.
Assisted Location
There are websites that will help narrow the places to look. One that a lot of people use is HeavensWhere. For HeavensWhere:
- Select the zone
- Select the map type: “Treasure Maps (Party)” or “Treasure Maps (Solo)”
- Find the red “X” on the HeavensWhere map that best corresponds to your map location.
- If you are in a party, continue with Step 4 in the MANUAL steps above.
Methods We Don’t Discuss
(Dalamud) Two things to look up:
- Globetrotter
- ChatCoordinates
Dig It
Once you have identified the location, travel to it and use the “Dig” action:

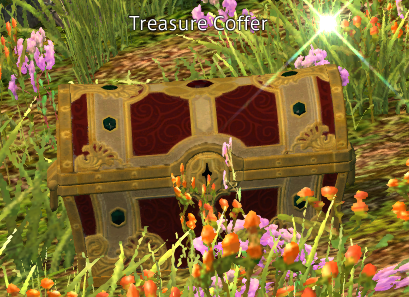
If you are close enough, a sparkling treasure chest will appear. If one doesn’t appear, move away a reasonable distance and repeat the dig.
After you have made several attempts, you might want to go back and look at the treasure map and compare it to the zone map again. It may be that you are in the right location and off a bit or there may be another location with similar landmarks to try.
If you are in a party, this is fine. Almost all of us have this happen from time to time. Also, practice helps.
Continue until you find the chest. This should be part of the fun.
Once you find the chest, the map owner must touch it to open it.
Another note about party maps: If not everyone has arrived yet, or if someone is in an action, the chest may not open. Wait until everyone is there and is ready.
Kill the Mobs / Guardians
When the chest is touched the first time, Mobs will appear. Do your thing.
It is worth noting that this battle is unsynced.
They may appear in one group or in three consecutive groups.
Once the vermin have been killed, then move on to opening the chest.
Open the Chest
The map owner once again touches the chest. You will receive loot from this action.
Party Maps
Party maps may drop rollable loot at this point. Roll per the party’s rules.
And, for most party maps, there is a reasonable chance a portal will open.
Up to this point, solo and party maps are identical except for the number of “Mobs / Guardians” and the value of the chest contents. This section applies to Party Maps only and only the subset with portals.
A Portal Opens – Party Maps Only
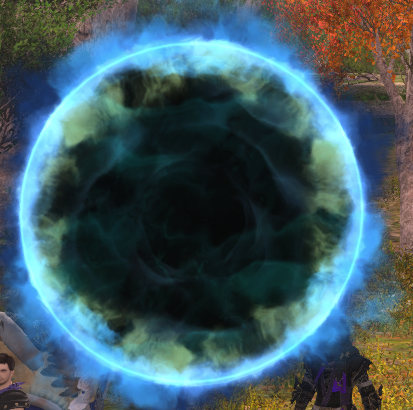
If the Random Number Gods are favorable, a spinning dark disk will appear over the chest.
When the party is ready, the owner of the map will need to touch the portal, and it will teleport everyone into a dungeon.
Same qualification as earlier: If not everyone has arrived yet, or if someone is in an action, the chest may not open. Wait until everyone is there and is ready.
Each map level will have different dungeons:
- Heavensward (60)
- The Aquapolis
- Stormblood (70)
- The Lost Canals of Uznair
- The Shifting Altars of Uznar
- Thief’s Map: The Hidden Canals of Uznair
- Shadowbringers (80)
- The Dungeons of Lyhe Ghiah
- The Shifting Oubliettes of Lyhe Ghiah
- Endwalker (90)
- The Excitatron 6000 (Kumbhiraskin)
- The Shifting Gymnasion Agonon (Ophiotauroskin)
These dungeons fall into two types: roulettes and what I’ll call forking dungeons.
All of these dungeons have a limited number of levels. If you make it to the last one, it will be a high reward level.
Roulettes
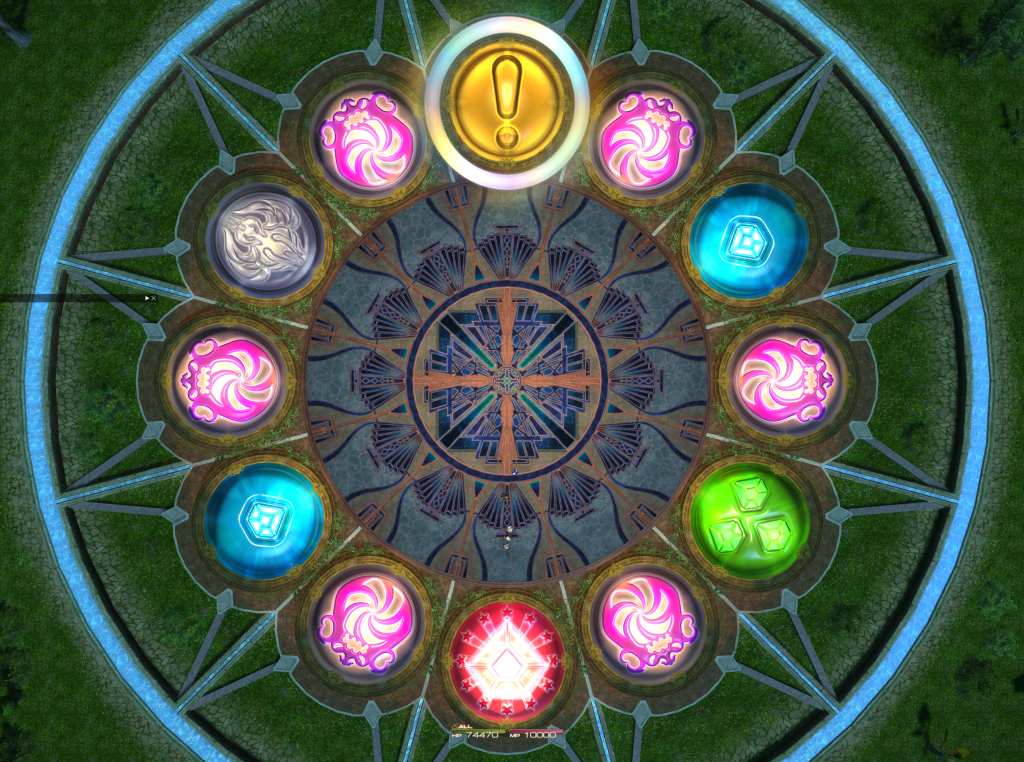
In roulette dungeons, you will enter an arena with a circular floor and a bunch of makers around the outside edge. The owner of the map will touch a glowing orb that appears near the edge of the arena, and the outer markers will be highlighted in sequence. Eventually, it will stop on one and a Boss will appear in the arena. In most cases, it is the game of “defeat the boss.” There are several levels of bosses.
Additionally, some markers will eject you from the dungeon. However, on rare occasions, they will “choke,” and a boss will appear.
Forking Dungeons
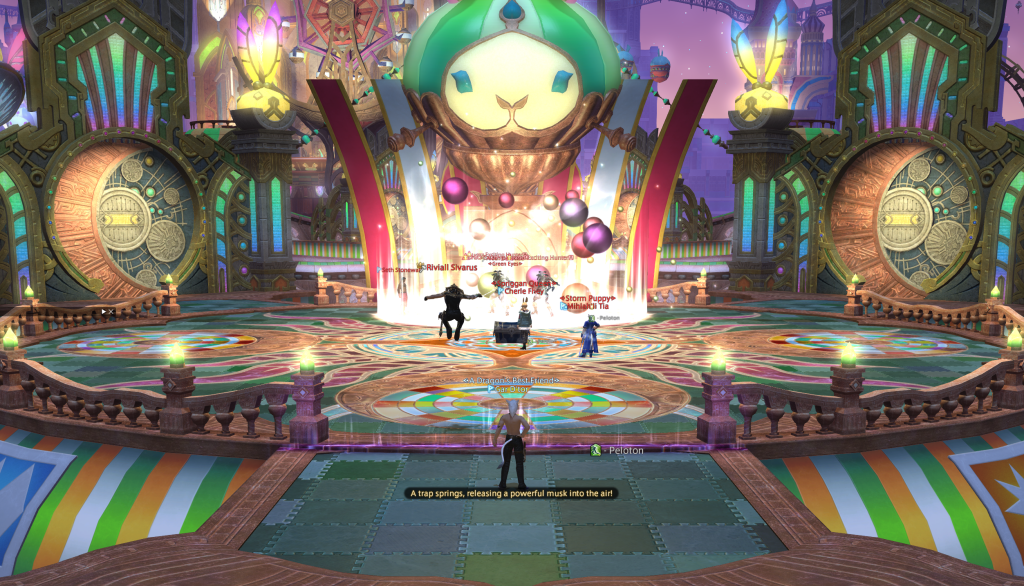
In forking dungeons, you will enter an arena to fight a series of Mobs or a boss.
Once that level is defeated, a chest will appear. The owner will need to touch the chest to open it. The contents will be dispersed.
Occasionally there will be loot dropped. Roll per the party’s rules.
And now we get to the fork…
The picture at the beginning of this section shows an arena with two doors… one on the left and one on the right.
Once you defeat the boss and gather the loot, there will be 2-3 doors. The map owner will need to select a door. And depending on the Random Number Gods, it will open, and you can go to the next level or be ejected from the dungeon.
Occasionally, one of the doors will glow. This is a free door. Go to it and open it. You will go to the next level.
Gambler’s Lure
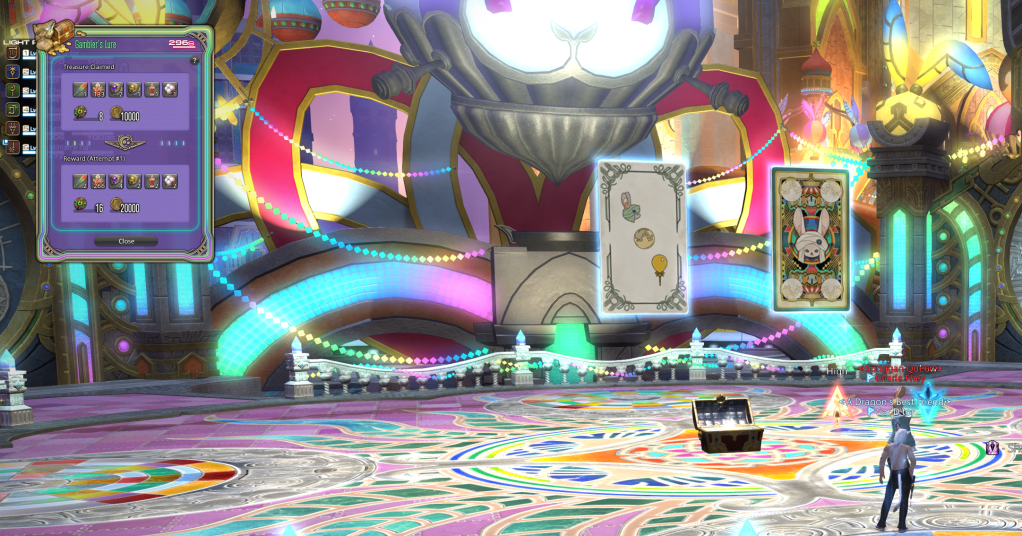
When you open a chest in a Forking Dungeon, there is a chance that Gambler’s Lure will pop. This is a game of high/low. If you think the next card will be higher, select “high” otherwise select “low.”
There are multiple chances at this, and it is an all-or-nothing choice. If the owner chooses to go to the next level, and they lose, all of the loot gather so far in Gambler’s Lure will be lost.
There is a story of a certain cat-dude losing 400,000 gil for the group because he got greedy and decided to go for the 500,000 gil.
Special Vermin / Adds
There are special vermin that occasionally pop and provide gil and/or loot:
- “Numbered Veg”
- Kill in order: 1-5. Kill one before the preceding ones are killed and the drop is reduced or won’t occur.
- If it’s gold, then kill it: Tricksters (golden frogs), Whiskers (golden Namazu), Golden Supporter, etc.
- Kill quickly. These little golden guys are typically timed and will disappear.
- Rainbow Golem
- Kill quickly.
- There are others. Those are the ones I remember the most.
Rinse & Repeat
Once you exit a dungeon either by successfully completing the last level or by being ejected, it is time to go to the next map.


Leave a comment